
Sewing is my first love, I've been making things for as long as I can remember. Dolls clothes made out of bits of old fabric, knitting with 'my first knitting kit' in a little plastic basket with tiny plastic needles. My mum would patiently cast on for me or thread the needle, then off I would go creating outfits for my dolls. We had very little money, so my dolls were actually three bubble bath bottles in a Captains Decanter shape which once contained bubble bath in green, pink and yellow topped off with a furry collar in matching shades with barbie type dolls heads covering the screw caps. This, very conveniently made making outfits even easier as they had no arms or legs to worry about. Predictably, the outfits evolved into long dresses with capes, all of which could be interchanged with one another and always topped off with a furry collar in either green, pink or yellow. A little girls imagination took my barbie bottles to all sorts of balls and glamorous events.
These days I work as a teaching assistant in a secondary school. One lunch break a week, I run a sewing club for any student who wants to come along.
Last year we made Christmas stockings and bear hoods. This term we are making hanging organisers. My one condition is that we recycle as much as we can. So, before any one goes rushing off to buy fabric, we look around at what we have, trying to up-cycle where we can. While they are learning to sew, they are at least not costing their parents a fortune and mistakes are not costly.
As they become more skilled, we will design clothing items, then they can buy fabric and even put on a fashion show. But that is for the future.
This term we are making hanging organisers. I've made one to show them the sort of thing they are aiming to achieve, but the design will be up to them. I don't want clones, I want creative individuals. My effort can be seen in the following pictures...
 First sketch out a design.
 Then make a pattern
 Design the applique shapes
 Stay organised by putting pattern pieces into envelopes
 After choosing the fabric, cut out and use tailor tacks to mark out where the various pieces will be placed.
 Play around with the fabric and the shapes until you are happy with the effect.
 This was my first layout.
 I felt this fabric combination worked better.
 Cut out and apply bonding to the applique shapes.
 Reinforce the corners of the pockets.
 Review and change what you don't like.
 Attach the back and sew channels at the top and bottom.
 Push doweling into the channels and hang with cord. Ta dah!

These days I work as a teaching assistant in a secondary school. One lunch break a week, I run a sewing club for any student who wants to come along.
Last year we made Christmas stockings and bear hoods. This term we are making hanging organisers. My one condition is that we recycle as much as we can. So, before any one goes rushing off to buy fabric, we look around at what we have, trying to up-cycle where we can. While they are learning to sew, they are at least not costing their parents a fortune and mistakes are not costly.
As they become more skilled, we will design clothing items, then they can buy fabric and even put on a fashion show. But that is for the future.
This term we are making hanging organisers. I've made one to show them the sort of thing they are aiming to achieve, but the design will be up to them. I don't want clones, I want creative individuals. My effort can be seen in the following pictures...
 First sketch out a design.
 Then make a pattern
 Design the applique shapes
 Stay organised by putting pattern pieces into envelopes
 After choosing the fabric, cut out and use tailor tacks to mark out where the various pieces will be placed.
 Play around with the fabric and the shapes until you are happy with the effect.
 This was my first layout.
 I felt this fabric combination worked better.
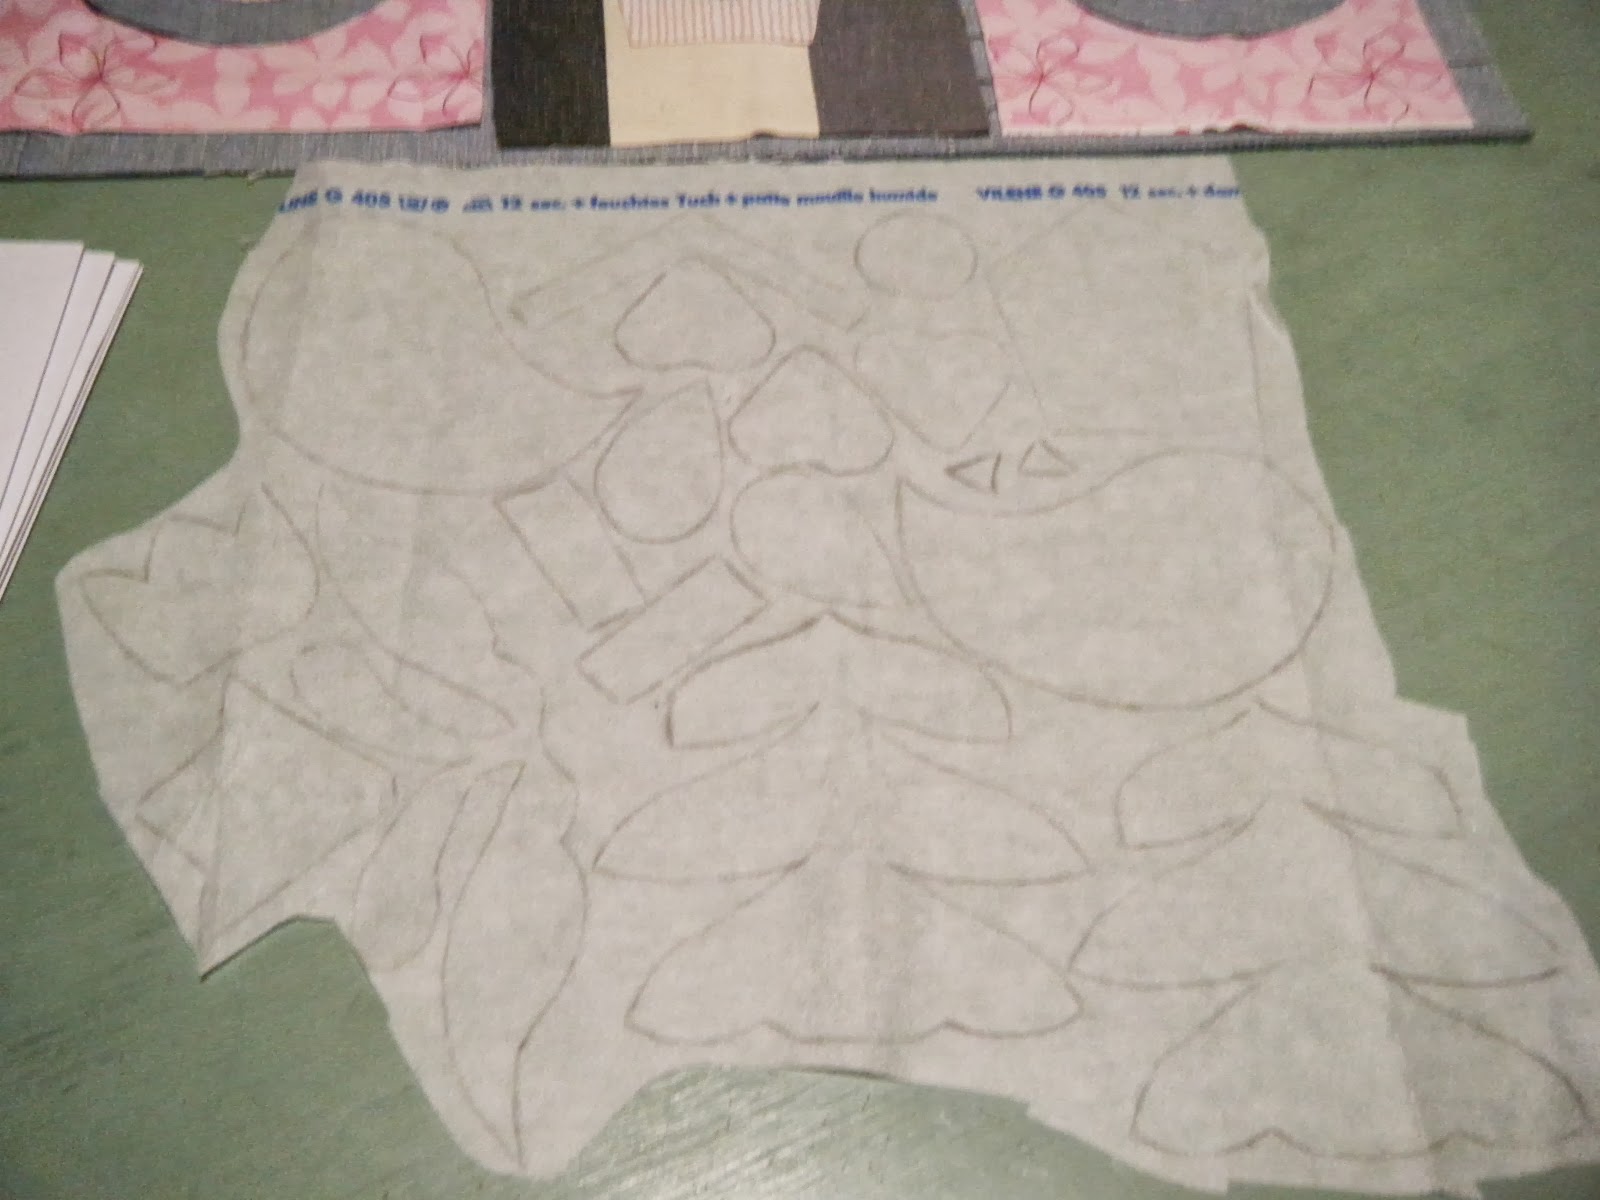 Cut out and apply bonding to the applique shapes.
 Reinforce the corners of the pockets.
 Review and change what you don't like.
 Attach the back and sew channels at the top and bottom.
 Push doweling into the channels and hang with cord. Ta dah!
Have a go. It's very satisfying.
.
No comments:
Post a Comment